
Hyper Terminal is a modern, extensible terminal emulator for macOS that offers a rich plugin ecosystem and beautiful interface. While it’s great for development work, one common challenge is integrating it with Finder like the native Terminal app. This guide will show you how to create a custom Quick Action in Automator to open Hyper Terminal from any folder in Finder.
Prerequisites
Before you begin, ensure you have:
- macOS installed
- Hyper Terminal installed
- Basic familiarity with Automator
Creating the Quick Action
Open Automator
Choose “Quick Action” as the type of document
Configure the Quick Action settings:
- Workflow receives: “files or folders”
- In: “Finder”
- Image: Choose an icon (optional)
Add the following actions:
- “Get Selected Finder Items”
- “Run Shell Script”
In the shell script action, enter:
for f in "$@"
do
    cd "$f"
    /Applications/Hyper.app/Contents/MacOS/Hyper
done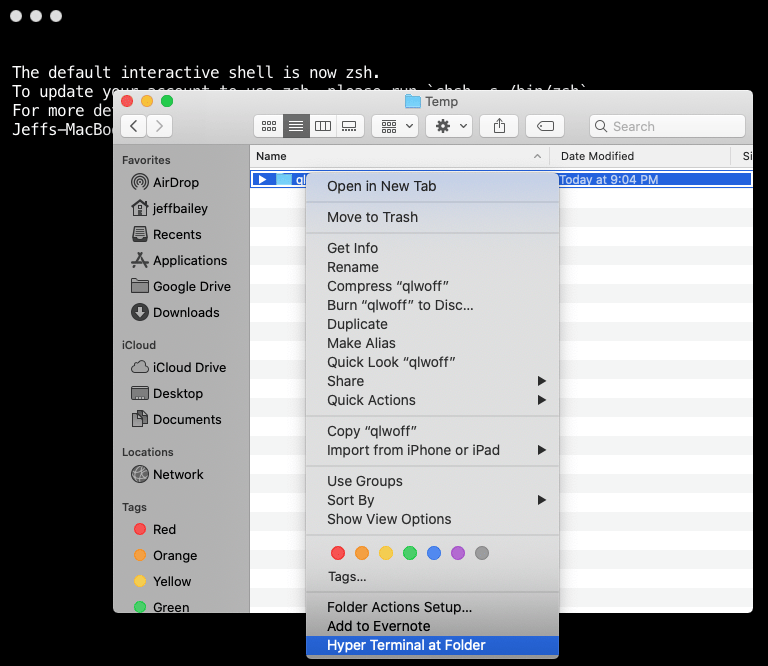
Using the Quick Action
- Right-click on any folder in Finder
- Go to Quick Actions
- Select your custom Hyper Terminal action
The terminal will open in the selected directory.
Troubleshooting
Common Issues
Quick Action Not Appearing
- Ensure the Quick Action is saved
- Check System Preferences > Extensions > Finder
- Verify the action is enabled
Terminal Opens in Wrong Directory
- Verify the shell script is correct
- Check folder permissions
- Ensure the path to Hyper.app is correct
Permission Issues
- Check System Preferences > Security & Privacy
- Grant necessary permissions to Automator
- Verify Hyper Terminal permissions
Alternative Methods
Using Keyboard Shortcuts
- Open System Preferences
- Go to Keyboard > Shortcuts
- Select Services
- Find your Quick Action
- Assign a keyboard shortcut
Using Spotlight
- Press Cmd + Space
- Type the name of your Quick Action
- Press Enter when selected
Best Practices
Naming Convention
- Use clear, descriptive names
- Include “Hyper” in the action name
- Add version number if needed
Organization
- Group related Quick Actions
- Use consistent naming
- Keep actions focused and simple
Maintenance
- Test after macOS updates
- Verify paths are correct
- Update as needed
Comments #